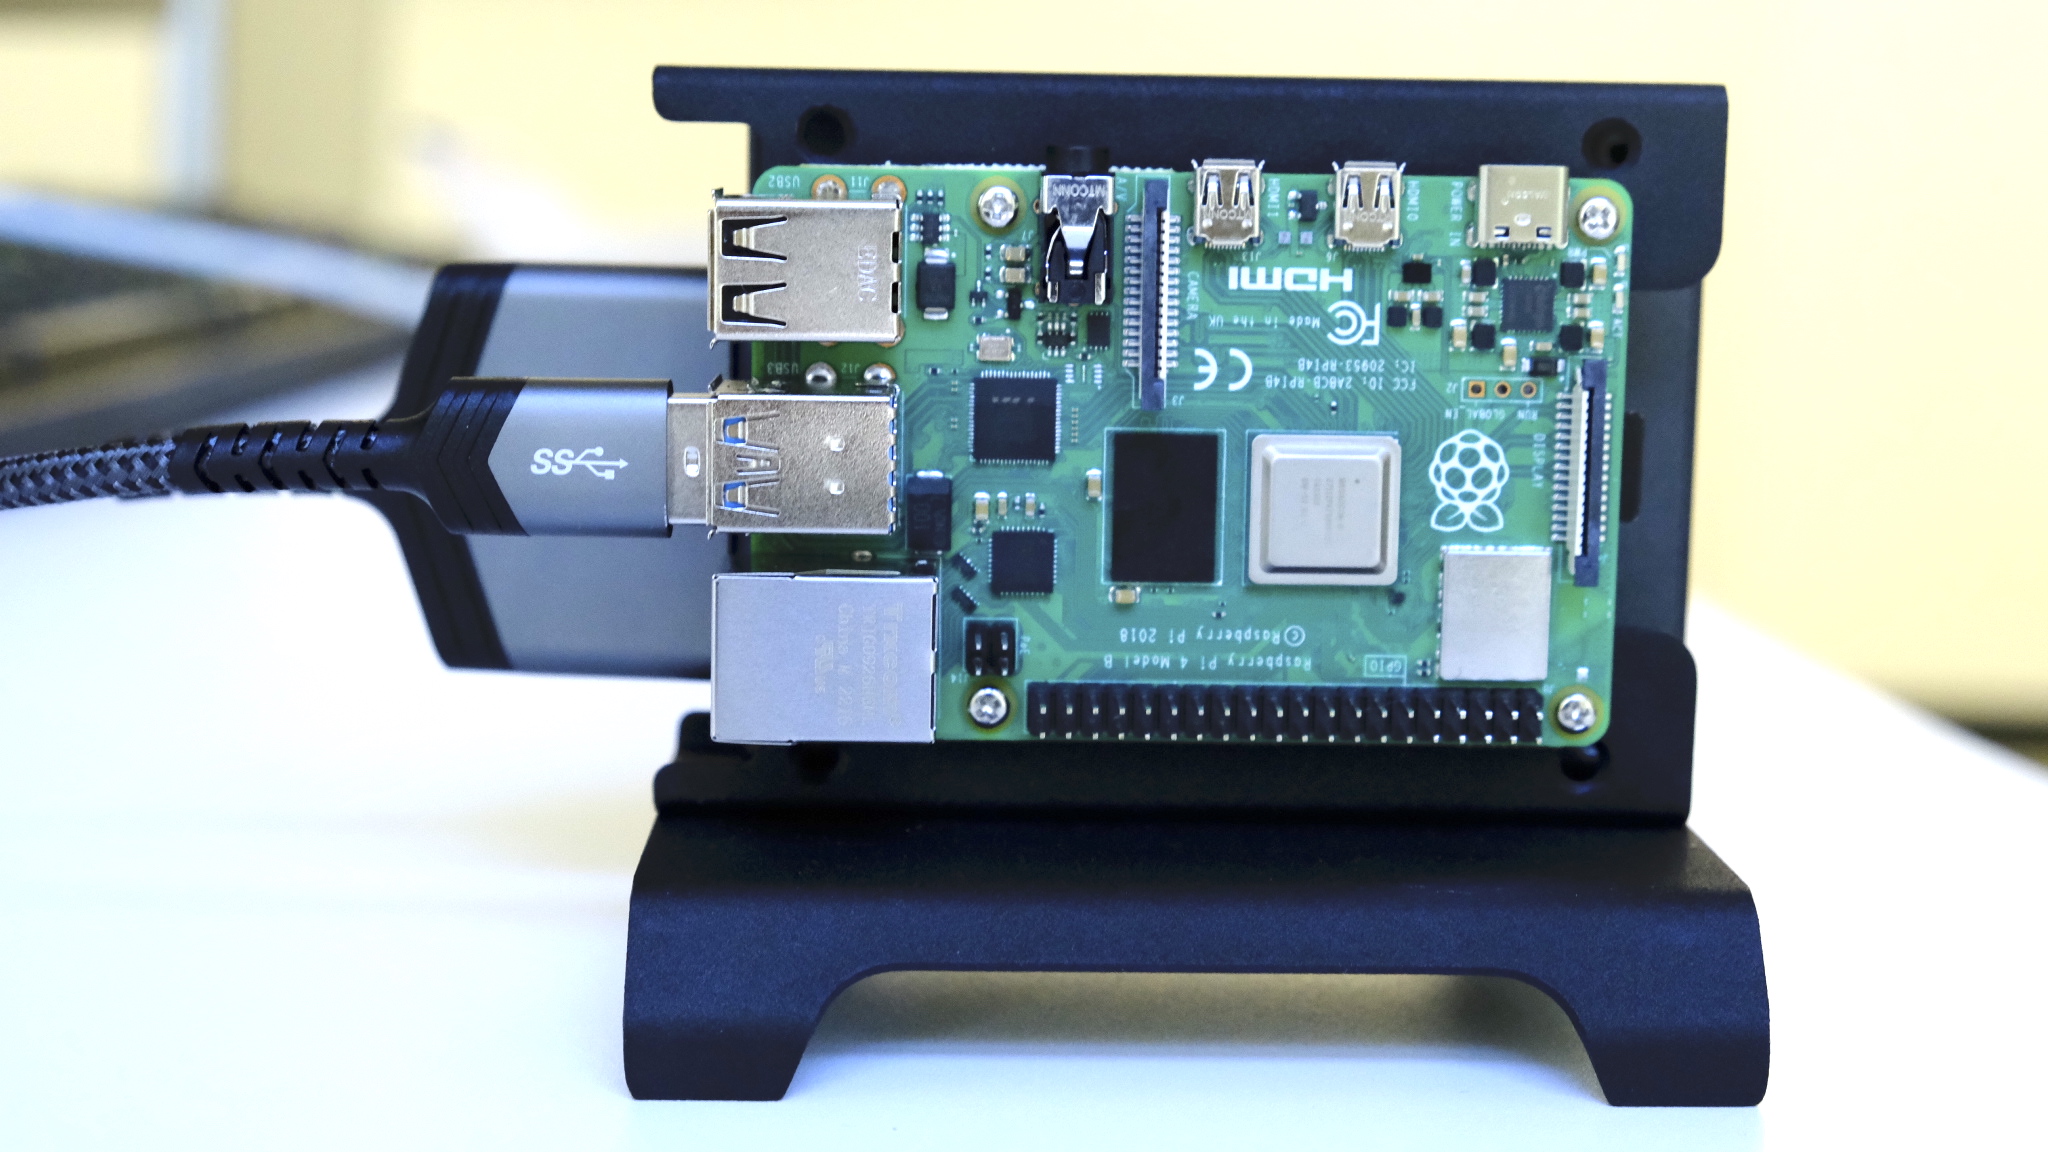
In a previous blog post, we discussed the benefits of using No-IP for remote access to various devices. Today, we’re diving deeper into a specific application: accessing your files remotely by building your own media server. If you’re a movie buff or a music lover who wants to enjoy your media library from anywhere, this DIY guide is for you. In this guide, we will use a Raspberry Pi 4 (4GB) with the OpenMediaVault software.
With No-IP’s Dynamic DNS service, you can securely access your media server and enjoy your favorite movies and music on the go. You can even follow along with our video here to make sure you are putting things together correctly. Let’s get started!
Materials Needed:

1.Hardware for media server:
- Raspberry Pi 4
- Raspberry Pi 4 Model B 2019 Quad Core 64 Bit WiFi Bluetooth (4GB): Amazon link
- CanaKit 3.5A Raspberry Pi 4 Power Supply (USB-C): Amazon link
- Storage (Solid State Drive or Hard Drive): Amazon link
- USB to SATA connector: Amazon link
- A dock or case to make it pretty!: Amazon link
2.An operating system for the Raspberry Pi, and Media Server software. We will be using Raspbian Lite and OpenMediaVault, respectively.
3.No-IP Account: No-IP Website
__________
Getting Started:
Once you have your materials, you can start the fun stuff!
Step 1: Prepare your Raspberry Pi:
- Download the latest version of Raspbian from the official Raspberry Pi website.
- You must use the Lite version of Raspbian to install OpenMediaVault
- Use a tool like Etcher or Raspberry Pi Imager to flash the Raspbian Lite image onto your MicroSD card.
- Insert the MicroSD card into your Raspberry Pi and power it up.
- You can use Wi-Fi for connecting the Pi to your network, but we highly recommend using an Ethernet cable instead.
Step 2: Set up Raspbian:
- Follow the on-screen instructions to set up Raspbian. This includes selecting your language, keyboard layout, and creating a new user.
- After the initial setup, run sudo raspi-config in your terminal to access the configuration menu.
- We recommend enabling SSH so you can access your device remotely.
- Expand the file system to utilize the full capacity of your SD card.
Install OpenMediaVault:
Step 3: Install OpenMediaVault:
- Open a terminal or SSH into your Raspberry Pi.
- Run the following command in your terminal:
sudo wget -O – https://github.com/OpenMediaVault-Plugin-Developers/installScript/raw/master/install | sudo bash - Follow the prompts to install OpenMediaVault.
Step 4: Configure OpenMediaVault:
- After the installation is complete, access the OpenMediaVault web interface by entering your Raspberry Pi’s IP address in a web browser. For example, http://192.168.1.100.
- Log in with the default username (admin) and password (openmediavault).
- Follow the initial setup wizard to configure your system. You can choose to change the default admin password, and change
- For more information, check out OpenMediaVaults official documentation.
__________
Set up Dynamic DNS:
Step 5: Configure Dynamic DNS:
- If you haven’t already, sign up for a free No-IP account at the https://www.noip.com/sign-up. This account will enable you to create a custom hostname that will point to your media server’s IP address.
- Configure an Update Client on your network.
- You can use the Linux Dynamic Update Client for great stability and features, find it here
- Open your router’s configuration page and forward external port 80 to your Raspberry Pi’s internal IP address. This allows access to the OpenMediaVault web interface from the internet.
- For help with Port Forwarding your device, we have some guides on Port Forwarding in our Knowledge Base. If your device is not listed, do a Web Search to find a Port Forwarding Guide specific to your device.
Step 6: Access OpenMediaVault remotely:
- Open a web browser on any device and enter your dynamic DNS hostname. For example, http://yourhostname.ddns.net.
- Log in with your OpenMediaVault credentials.
- You can now manage your media files, configure storage, set up network services, and more through the OpenMediaVault web interface.
That’s it! You have now set up OpenMediaVault on your Raspberry Pi running Raspbian and configured it for remote access using No-IP’s Dynamic DNS service. Now you can enjoy your extensive media library from anywhere in the world. Whether you’re on vacation, at work, or visiting friends, you can stream your favorite movies and music with ease.
Remember to ensure that your media server is secure by regularly updating your software and employing strong passwords.
Happy streaming!
Please note that the materials needed for this project may vary based on your specific media server setup.